 JawAtlas
Anatomy
Finding the mandibular canal on CBCT
After this page you will be able to find the inferior alveolar canal where it enters the ramus, follow it through the body and find where it leaves at the mental foramen, using the plane that shows each part best.
What you are looking for
The inferior alveolar canal, often just called the mandibular canal, carries the inferior alveolar nerve, artery and vein through the mandible. On CBCT it is a dark tunnel a few millimetres wide running through grey trabecular bone, often with a thin bright cortical wall, so in cross-section it looks like a small dark circle with a white rim.
That rim is both your best friend and your main trap. Where it is well formed the canal is easy to follow. Where it is thin or absent, the canal fades into the marrow spaces, and a large marrow space can look like a canal. A second plane tells them apart.
Where it enters: the mandibular foramen
The canal starts at the mandibular foramen on the inner (medial) surface of the ramus, roughly at the level of the occlusal plane and about halfway between the anterior and posterior borders. A small tongue of bone, the lingula, sits just in front of and above the opening.
The easiest way to find it is on an axial slice through the ramus. Scroll up and down until you see a gap in the lingual cortex of the ramus with a dark channel leading forward and down into the bone. A sagittal slice through the ramus shows the same opening from the side.
Its course through the body
From the foramen the canal runs down and forward inside the ramus, then turns to run almost horizontally through the body of the mandible, below the roots of the molars. In the molar region it usually sits closer to the lingual cortex and the lower border. As it comes forward toward the premolars it tends to swing toward the buccal side and rise on its way to the mental foramen.
That path matters when you choose a plane. The body of the mandible is curved, so a single sagittal or coronal slice shows a short stretch of the canal, then the canal drifts out of the slice.
Where it leaves: the mental foramen
The canal ends at the mental foramen on the buccal (outer) surface of the mandible, most often below or between the premolars. On an axial slice at that level the foramen shows as a gap in the buccal cortex with a dark channel joining it from behind. Just before it exits, the canal often runs a little past the foramen and then turns back (the anterior loop), so on some slices the exit seems to come from in front.
Beyond the mental foramen a smaller and fainter continuation, the mandibular incisive canal, carries on toward the midline. It is harder to see and is easy to confuse with marrow spaces.
Which plane shows it best at each point
- Axial is best for the two foramina, because each one is a gap in a cortical plate that the axial slice cuts across. Along the body, axial slices show the canal only in short pieces.
- Sagittal shows a longer run of the canal in the ramus and the posterior body, where the arch is straight enough for the plane to stay with it.
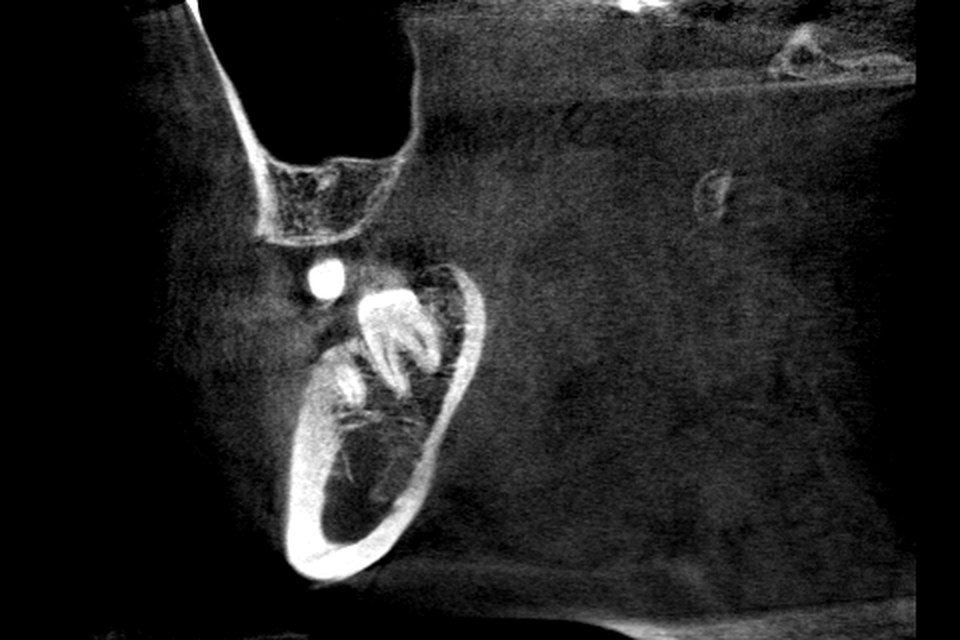
- Coronal cuts the canal roughly across in the first molar region, giving the classic small dark circle with a bright rim, with the roots above it and the lower border below it.
Why cross-sections perpendicular to the arch help
A cross-section perpendicular to the arch is a slice at right angles to the body wherever you are along the curve. Because the canal runs roughly along the arch, such a slice cuts it almost at right angles everywhere, so you see a dot rather than an oblique smear. That is the most reliable way to follow the canal from ramus to mental foramen.
In JawAtlas the Pano stage gives you exactly this. Trace the arch on the axial slice (see how to trace the dental arch), show the panoramic view, then drag the yellow scout line along it. The cross-section below updates to the perpendicular slice at that point, with a readout of how far along the arch you are. Step the scout line a few millimetres at a time and watch the dark dot move as you go. On the panoramic image itself the canal appears as a dark band with a corticated outline, as it does on a panoramic radiograph (see how panoramic reconstruction works).
Following it with the crosshair
In the MPR stage the three planes share one white crosshair. A good routine: find the canal as a dark circle on a coronal slice through the first molar, put the crosshair on it in Move mode, then switch to sagittal. The crosshair lands on the canal, and the slider scrolls the stack to show how far it runs forward and backward. Switch to axial and the scout lines show the same point from above, which checks that it is really the canal and not a marrow space (see how the three planes link).
The slice position readout at the top left tells you how many millimetres you have moved, so you can return to an exact slice later. Saving a moment at each landmark (foramen, molar region, mental foramen) lets you replay the trace as a short sequence (see saving and replaying moments).
Window settings that help
Start with the Bone preset. The canal is a low grey value structure inside medium grey trabecular bone, bounded by a high grey value rim. If the rim is faint, narrow the window width in Adjust mode so that small differences in grey value become bigger differences in brightness. If the image turns harsh and grainy, widen it again a little. These are grey values, not Hounsfield units, so the exact numbers vary between scanners and between scans (see window, level and grey values).
Practice on the demo scan
The bundled demo scan is a large field of view mandible with both rami and a traceable inferior alveolar canal, so you can run the whole routine without importing anything: find the mandibular foramen on axial, then switch to the Pano stage and walk the cross-section forward to the mental foramen. The left posterior edentulous site is a good place to see the canal with no roots above it.
Questions students ask
What does the mandibular canal look like on CBCT?
A dark tunnel a few millimetres wide running through the grey trabecular bone of the mandible, often with a thin bright rim of cortical bone. In cross-section it looks like a small dark circle with a white outline, sitting below the molar roots.
Which plane is best for seeing the inferior alveolar canal?
It depends on the part. Axial slices are best for the mandibular and mental foramina, sagittal slices show a long run through the ramus and posterior body, and cross-sections perpendicular to the arch keep the canal in cross-section all the way along, which is the most reliable way to follow it.
Why can I not see the canal on some slices?
The canal runs along a curved jaw, so a flat axial, coronal or sagittal slice stays with it for only a short stretch. The cortical rim can also be thin or missing, so the canal blends into marrow spaces. Narrow the window and switch to perpendicular cross-sections.
Can I practise tracing the canal in JawAtlas without importing a scan?
Yes. The bundled demo scan is a large field of view mandible with both rami and a traceable inferior alveolar canal. Use the MPR crosshair to find it and the Pano stage cross-sections to follow it from the ramus to the mental foramen.
JawAtlas is an education and training aid. It is not a medical device and must not be used for diagnosis, treatment planning or any clinical decision.
Last reviewed 2026-10-13